Movavi Photo Editor is suitable for those who are not willing to learn how to use an advanced photo editor. The photo editor is very intuitive with the interface designed for newbies to understand in using it in no time. Movavi Photo Editor is suitable for use in editing the majority of the photo formats. The main photo editing features are accessible through the buttons on the top bar. There are pop up tutorials to guide you on how to use each of the features in the photo editor to perform the desired photo editing task.
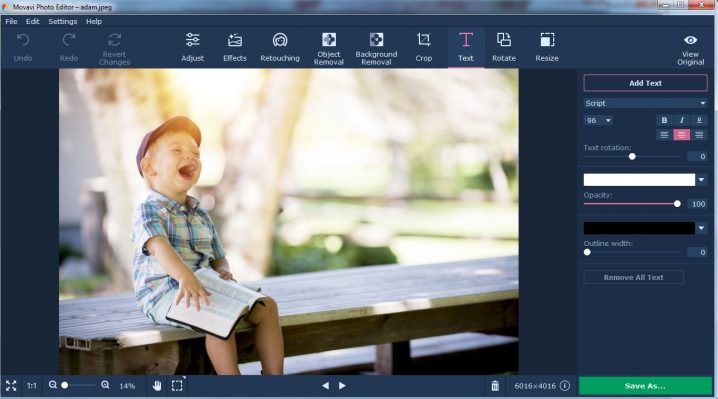
Movavi Photo Editor supports basic photo editing features like crop, resize, rotate, and add text. The crop tool allows you to crop a photo based on your desired width and height. It also offer six photo cropping presets including square, iPhone, DVD, Photo, L 2L and widescreen. You can go to the Text tab to add a few lines of text on the photo if you want to use the photo to convey a message to people. The first step is to load all the photos that you want to edit into the large open area. You can load one or more photos into the photo loading area and use the back and previous button to browse the photos.
You can find face retouching tools under the Retouching tab. If you want to fix a portrait photo that has a lot of blemishes, you will find the tools under the Retouching tab useful. In this tab, you can fix blemishes on the skin, eyes, mouth and hair. The Effects tab allows you to change the photo appearance by applying the filters. The Adjust tab is where you will find photo enhancement adjustment tools. You can sharpen a blur photo that is unprofessionally taken with a cheap camera.
Movavi Photo Editor features undo and redo button so you can undo/redo the changes you make without having to start the editing process all over again. The Revert Changes button will undo all the changes at one time. Clicking on the before/after button allows you to compare the before and after versions of the photo that you are editing. Clicking on the view original button will show you the original version of the photo.
Movavi Photo Editor can be used to remove any unwanted detail that you feel is destroying the picture quality. When you open the object removal tab, you must choose the brush button and draw an outline over the unwanted detail. You can use the lasso tool if you find it hard to trace the outline of the unwanted object. Movavi Photo Editor allows you to use the red brush tool to mark multiple unwanted details that you want disappear from the photo.
If the unwanted object that you want to remove is large, you can increase the brush size by dragging the brush size slider to the right. When you press the Start Erasing button, it will begin the process of erasing the unwanted object. It is not always 100% accurate in eliminating the unwanted object from your photo. When it did not completely remove the unwanted object, you can tackle the issue by using the clone stamp tool.
Movavi Photo Editor also provide a background removal tool useful for deleting an unattractive background so that you can use a new background of your choice in the photo. Under the Background Removal tab, you will find the green marker which is used for marking the foreground object you want to keep. The red marker tool is use for marking the background that is to be discarded. The brush size can be controlled as in the object removal tool. The marked background will instantly be cleared from the photo when the Set New Background button is clicked on. Under the Set New Background tool, you can set the new background over the transparent background of your photo.

